If you want your floors to look like high-end marble but hold up to Florida’s heat, humidity, and wear, a marble epoxy floor is the answer. This flooring delivers the elegant style of stone with the strength of modern epoxy resin.
From garages to kitchens to living rooms, Florida homeowners are turning to marble epoxy floors for their sleek look, durability, and easy care. Read on to see why this upgrade is making waves across the Sunshine State.

What is a Marble Epoxy Floor?
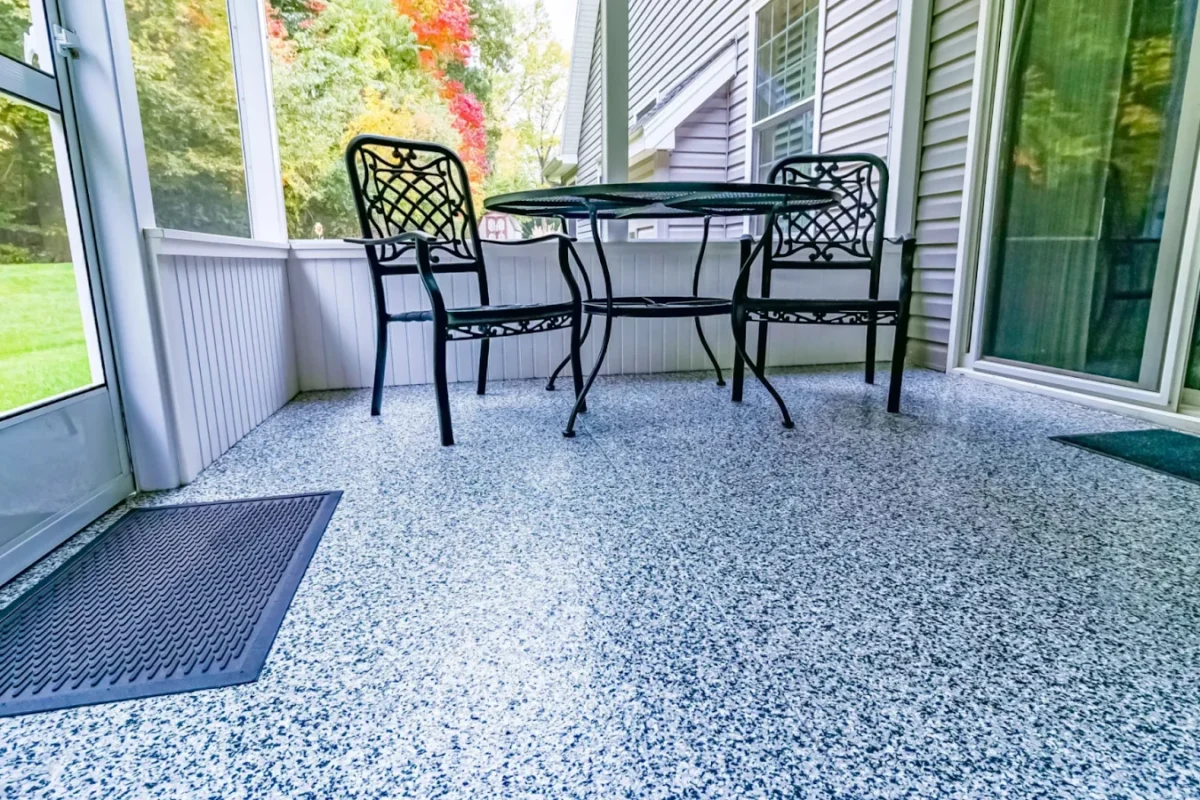
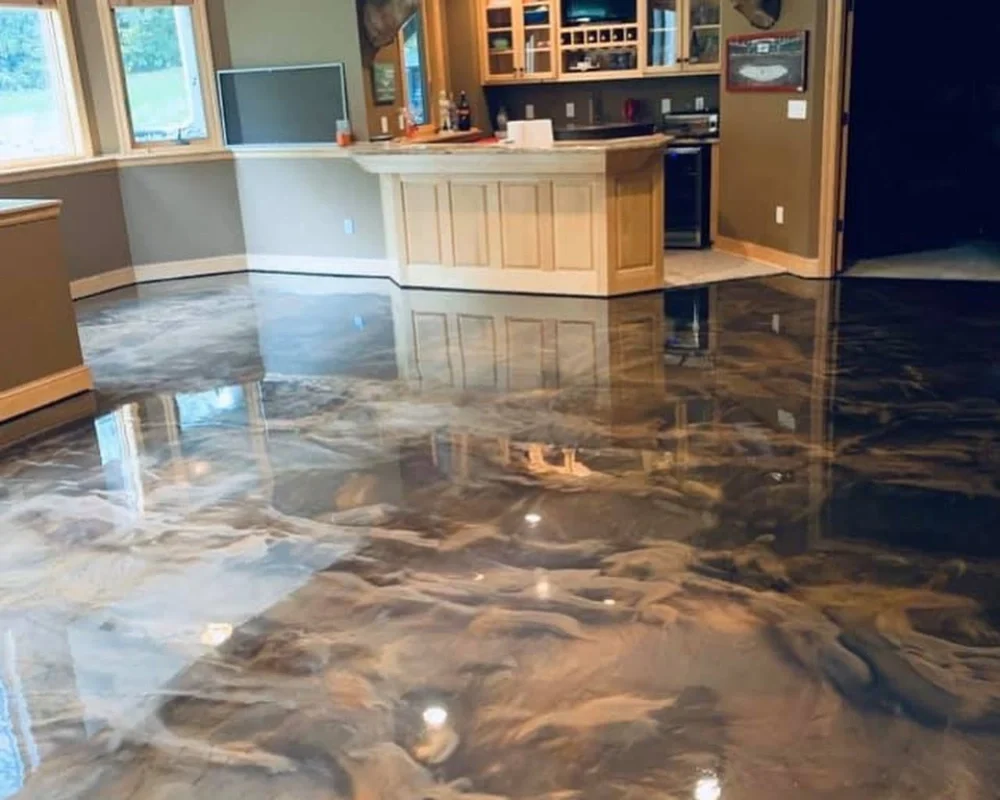
A marble epoxy floor combines epoxy resin with carefully applied pigments to create the look of natural marble. Skilled installers blend colors to mimic real stone veins and depth, giving your floors a high-end, polished finish. The result is a surface that looks like marble but with much greater durability.
So, how does a marble-look epoxy floor differ from real marble? Natural marble is porous, prone to scratches, and requires constant care. An epoxy floor marble effect gives you the same visual appeal but with a tougher surface. It resists wear, stains, and Florida’s humid climate far better than stone.
Compared to natural marble, a marble epoxy floor is more affordable, longer-lasting, and easier to maintain. You get timeless style without the high cost or heavy upkeep of traditional marble floors.
Why Florida Homeowners Are Choosing Marble Epoxy Floors
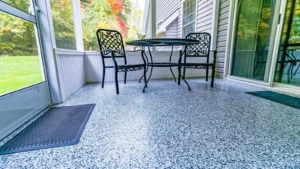
Florida’s weather can be tough on floors. A marble epoxy floor holds up beautifully against heat, humidity, and heavy use. It won’t crack, fade, or peel like some natural materials. This makes it a smart choice for both indoor and outdoor living spaces across the state.
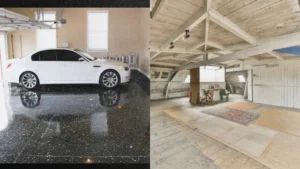
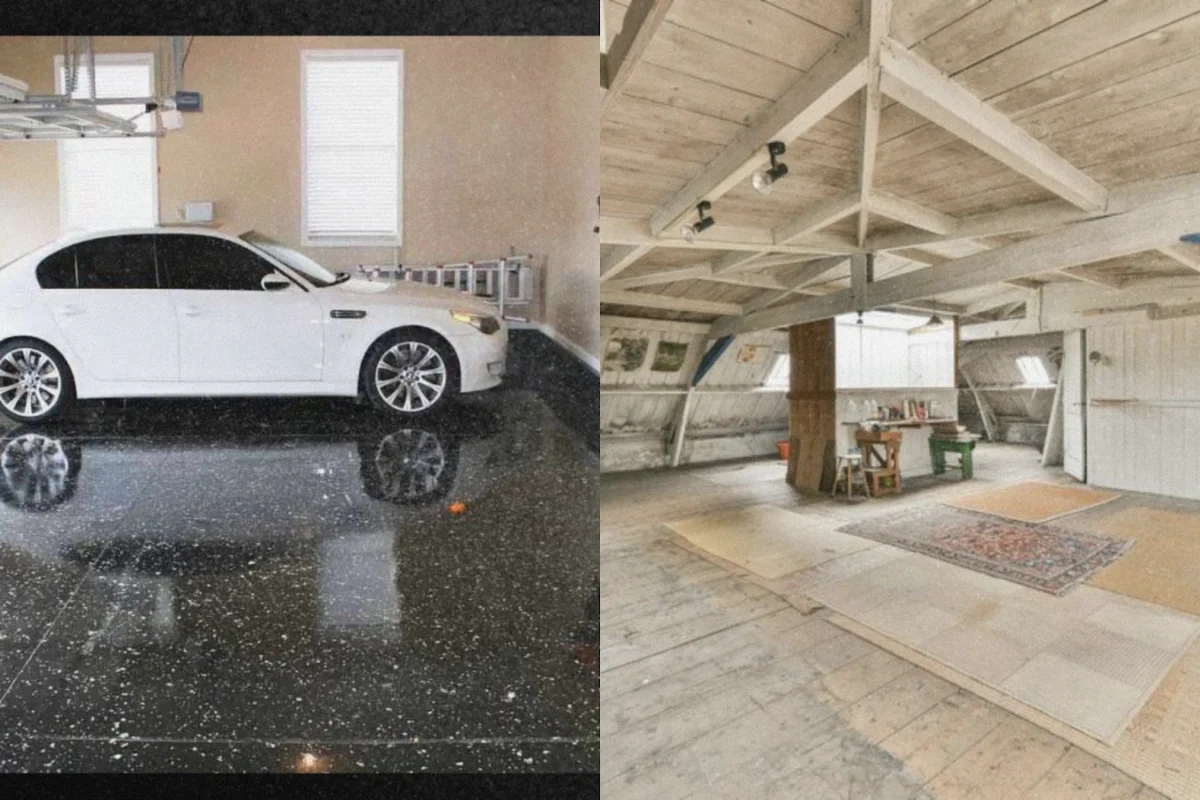
A marble garage floor is especially popular with Florida homeowners. It transforms basic concrete into a sleek, durable surface that’s easy to clean. Many also choose white marble epoxy floor styles to brighten garages, patios, and entryways.
Best of all, a marble epoxy garage floor offers the look of real marble, without the high maintenance. You’ll enjoy luxury appeal with a surface built to last in Florida’s climate.
Best Areas to Install a Marble Epoxy Floor
A marble epoxy floor is a great choice for both residential and commercial spaces across Florida. Its beauty and strength make it ideal for many settings.
- Marble garage floor: Homeowners with high-end garages love this option. It gives the space a luxury look while protecting the floor from oil, dirt, and heat.
- Entryways, kitchens, and living areas: Bring the elegance of marble into your home with a marble look epoxy floor that’s durable and easy to clean, perfect for busy families.
- Commercial spaces: Salons, boutiques, showrooms, and even office lobbies use epoxy floor marble effect designs to wow clients and create a polished look.
- Poolside areas: In Florida, pool decks with marble epoxy flooring offer a slip-resistant, UV-resistant surface that holds up beautifully to sun and moisture.
Customization Options: From White Marble to Bold Effects

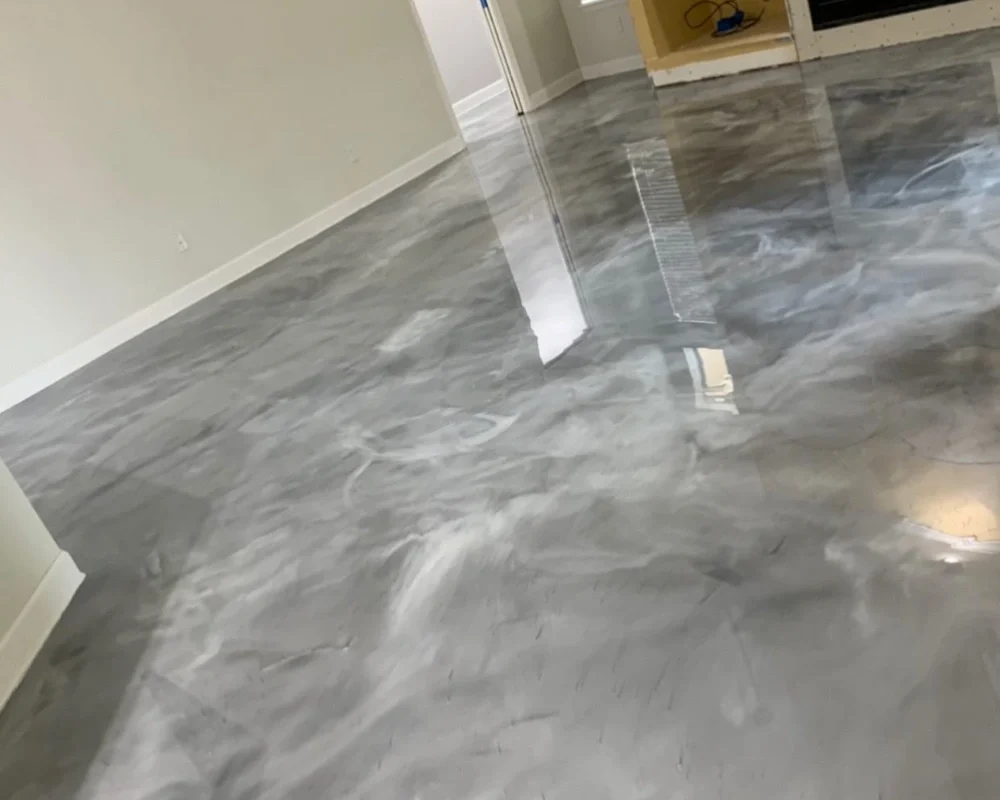
A marble epoxy floor offers endless style choices. Some homeowners love the clean elegance of a white marble epoxy floor, while others prefer bold black or grey swirls for a dramatic, modern look. You can even blend multiple colors for a rich, layered effect.
Each epoxy floor marble effect is custom-crafted. Installers work with you to match the floor to your home’s style. Want a glossy finish? Subtle veining? High-contrast patterns? It’s all possible. Visual mockups or on-site samples can help you choose the perfect look.
Images and design examples are always recommended, seeing is believing when it comes to these floors.
Top Benefits of Marble-Look Epoxy Flooring
Stunning Visual Appeal
A white marble epoxy floor or one with custom color swirls can instantly elevate any space. Whether you prefer a bright, modern vibe or deep, rich tones, this flooring adds timeless elegance, without the upkeep of natural stone.
Durability for Florida Living
Florida’s heat, humidity, and constant use can wear down other flooring types. A marble-look epoxy floor is built to resist cracking, peeling, or fading. It stands up to garage traffic, kitchen spills, and even outdoor exposure.
Low Maintenance
Unlike real marble, which requires sealing and polishing, epoxy marble floors are simple to care for. Just sweep and mop; no special products are needed. The sealed surface resists stains from oil, food, or household chemicals.
Custom Designs
Every marble epoxy floor is unique. You can work with your installer to choose colors, veining styles, and finishes. Whether you want a white marble epoxy floor, a dramatic black swirl, or subtle neutrals, the options are endless.
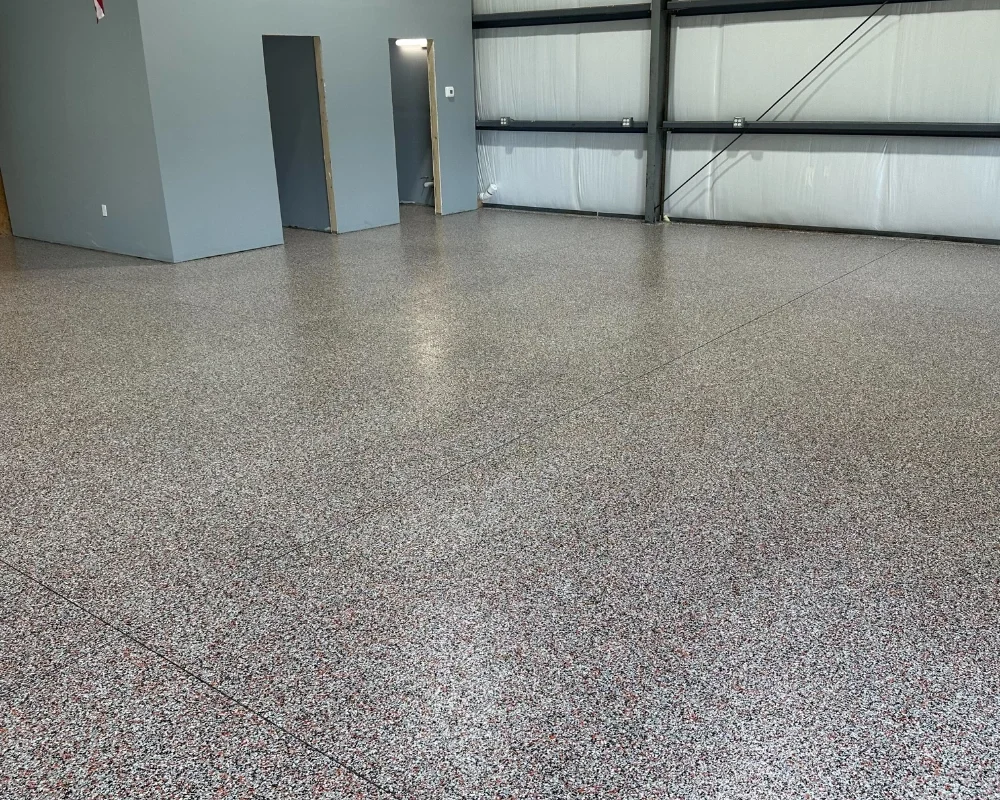
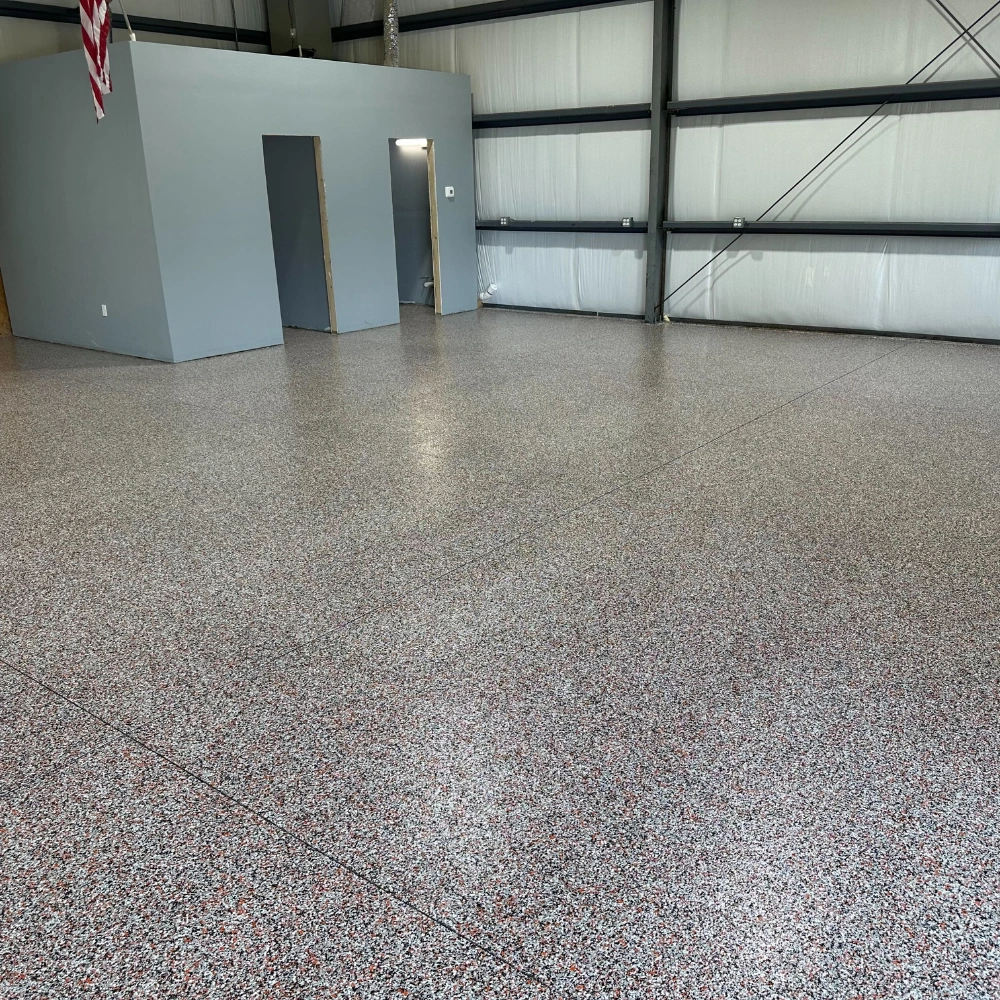
Seamless & Slip-Resistant
No grout lines or cracks here; a marble epoxy floor is smooth and seamless. Plus, added topcoats provide slip resistance, making it a safe choice for Florida homes, garages, and pool areas.
Marble Epoxy Floor vs Traditional Garage Flooring
When you compare a marble epoxy floor to common garage flooring options like bare concrete, tile, or paint, the advantages are clear. This surface not only looks stunning but also offers long-term durability and value.

Here’s how it stacks up:
Flooring Type | Durability | Maintenance | Aesthetic Appeal | ROI |
Marble Epoxy Floor | High (20–30 yrs) | Low | Custom marble-like look | Excellent |
Bare Concrete | Low (prone to cracks) | High | Basic, industrial | Low |
Tile | Medium | Medium | Grout lines, limited | Medium |
Painted Garage Floor | Low (chips easily) | High | Fades, wears quickly | Poor |
Why You Shouldn’t DIY a Marble Epoxy Floor
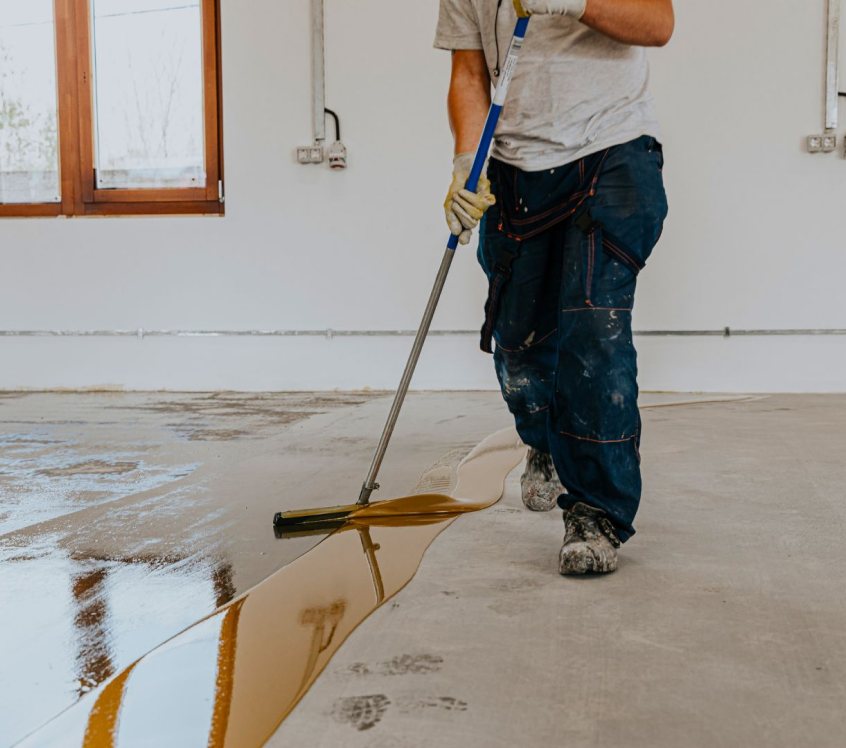
It may be tempting to take on a marble epoxy floor as a DIY project, but this is one job best left to the pros. Many homeowners run into common pitfalls:
- Uneven pigment blending ruins the marble look
- Poor surface prep leads to peeling or bubbling
- Missed curing times can leave soft spots
Getting that perfect epoxy floor marble effect takes experience. Professional contractors have the tools and know-how to create flawless results, with expert prep that ensures your floor lasts.
Don’t waste time or money on a DIY job that won’t hold up. If you want a stunning marble epoxy garage floor or a polished space for your home, hire Florida’s trusted pros at Apex Epoxy Flooring.
How Long Does a Marble Epoxy Floor Last?
A marble epoxy floor typically lasts between 10 to 20 years, depending on the space and how well it’s maintained. High-traffic areas like garages or commercial spaces may see more wear than residential rooms, but with proper care, the surface remains beautiful for many years.
To extend the life of your floor, clean it regularly by sweeping and mopping with a gentle cleaner. Avoid harsh chemicals or abrasive pads, which can dull the finish. Quickly wipe spills, especially oils or acids, to prevent staining. Using protective mats under heavy equipment also helps minimize wear.
Factors that impact longevity include the amount of foot and vehicle traffic, levels of moisture (such as in poolside areas), and exposure to direct sunlight. UV rays can cause discoloration over time, so a UV-stable topcoat is recommended for outdoor installations. With these care tips, your marble epoxy floor can deliver lasting beauty and performance.
Bring Luxury to Your Floors | Get Your Free Estimate Today
Ready to upgrade your space with the timeless look of a marble epoxy floor? Whether you want to refresh your garage, create a showstopping entryway, or add style to your commercial property, Apex Epoxy Flooring has you covered.
We proudly serve homes and businesses across Florida with fast installations, expert craftsmanship, and a 25-year warranty on every floor.
Call (904) 595-9792 or request your free estimate here and take the first step toward a beautiful, durable new floor that fits your style.