

Cracks in Your Garage Floor: Which Ones a Coating Fixes and Which Ones Come Back
Which garage floor cracks a coating fixes for good, which ones will show back through

July 1, 2026
Every August, our phone starts ringing with the same call. Different homeowner, different city, same story: “My epoxy garage floor is peeling and I got it done less than two years ago.” When we drive out to look at it, we know before we open the truck what we’re going to find. It’s never the epoxy itself. An epoxy garage floor peeling in Florida is almost always the result of one — sometimes two — of six specific prep steps that got skipped, shortcut, or cooked down into a “one-day install” package. Below is exactly what we look for, what the failure actually is at a chemistry level, and the six-step prep sequence we run on every single Florida slab before a single ounce of resin leaves the mixing bucket.
When a homeowner tells us their epoxy is peeling, they picture the coating breaking down — cracking, going soft, chalking off in the sun. That’s almost never what’s happening. What’s happening is delamination: the epoxy is still perfectly intact as a film, but the bond between the film and the concrete has released. You can usually pick a sheet up in one piece, flip it over, and see a clean, dusty concrete side. The resin didn’t fail. The interface did.
This matters because it changes the diagnosis. A coating that’s chemically breaking down would need a different product. A coating that’s releasing from the slab needs a different prep procedure. Nine times out of ten in Florida, the epoxy on the ground is a perfectly capable industrial-grade resin — Sherwin-Williams ArmorSeal, Rust-Oleum 9100, Sika Sikagard, all fine products. They just weren’t given a surface they could grab onto and hold.
Because peeling looks like a product problem, homeowners often re-coat with a different brand and get the same result 14 months later. The slab is the problem. Until you fix what’s happening at the slab-to-resin boundary, you can burn through three epoxy systems and never solve it.
Every failed floor we’ve torn out in the last decade traces back to one or more of four causes. If you’re wondering why is my epoxy peeling, it’s almost certainly on this list.
This is the #1 killer in Florida, full stop. Concrete is porous. In our climate — 90-95% relative humidity from June through September, water table often just a few feet below the slab, no vapor barrier under 1980s-and-older garages — water is constantly wicking up through the slab and evaporating at the surface. When you seal that surface with an impermeable epoxy film, the water can’t evaporate anymore. It builds pressure between the concrete and the resin until it lifts the coating off. This is epoxy floor lifting Florida in a nutshell, and no amount of good epoxy will stop it.
A closed Jacksonville garage in July can hit 115°F on the slab surface by 2pm and drop 30 degrees the moment a homeowner rolls the door up and a summer thunderstorm blows in. Epoxy and concrete expand and contract at different rates. Repeat that cycle 200 times a year and any weak bond gives up. Coastal homes get an extra kick from salt-laden humidity, which accelerates surface degradation of any exposed edge.
Acid etch alone. Skipped grinding. Skipped vacuum. Coating a slab that still had power-wash water sitting in the pores. The 1-day install trend has compressed a 3-day prep process into a 4-hour compromise, and the coating pays the bill 18 months later.
A 25-year-old slab full of hairline cracks and old sealer residue is not the same substrate as new construction. Applying the same primer and topcoat system to both is a coin flip. Florida slabs, especially older coastal ones, often need a moisture-tolerant primer and a two-part crack repair before the color coat ever touches them.
Before we quote a job, we test the slab. “Looks dry” is not a moisture reading. Concrete can feel bone dry to the touch and still be transmitting 8-12 pounds of moisture per 1,000 square feet per 24 hours — well past the 3-pound threshold most epoxies tolerate.
We use two methods together:
If the calcium chloride reads over 3 lbs, or the RH probe reads over 80%, we either wait, install a mitigation primer, or in extreme cases recommend the homeowner not epoxy at all until the slab dries out. Skipping this test is how installers cheerfully coat a slab that’s guaranteed to reject the coating within a year. This is not optional prep in Florida.
An acid etch — usually muriatic or a proprietary blend — opens the pores of the concrete chemically. It works, sort of, on new smooth slabs with no coatings and no contaminants. But it doesn’t remove old sealers, old paint, oil stains, curing compounds, or the laitance layer (the weak, dusty top skin of concrete that forms during finishing). Coating over any of that is coating over a release layer.
Diamond grinding uses 30-grit metal-bond diamond segments on a planetary grinder (we run Husqvarna PG 450s and PG 690s depending on square footage) to physically remove the top 1/32 to 1/16 of the slab, exposing fresh, porous, high-CSP-profile concrete underneath. That’s the surface epoxy is designed to bond to. The industry standard is CSP-3 (Concrete Surface Profile 3, per the International Concrete Repair Institute) — a texture roughly like 40-grit sandpaper. Etch delivers CSP-1 at best.
Grinding also removes hairline crack lips, feathers out old patches, and lets us actually see what condition the slab is in. You can’t diagnose crack repair needs (Step #3) through a wet acid haze.
Grinding takes 4-8 hours for a 2-car garage, generates dust (needs a HEPA vac attachment plus a truck-mounted dust collector), and requires a $12,000 machine. Acid etch takes 45 minutes, requires a $30 jug, and lets a 1-day-install crew get to the coating step by lunch. Guess which one lasts.
Florida slabs move. Between soil moisture cycling, root heave, thermal expansion, and settlement, a 20-year-old slab typically has anywhere from a dozen to a few hundred hairline cracks. Epoxy is a rigid film. It cannot bridge a moving crack — it will telegraph the crack right through the coating, and moisture will wick up the crack and lift the coating around it.
Our repair spec:
This is where a lot of otherwise-competent installers cut a corner. Filling every crack on a 25-year-old slab can take an entire day. Skipping it saves that day. The homeowner pays for the savings later.
Grinding produces an enormous amount of extremely fine concrete dust. That dust, if left on the slab or blown around the garage, settles right back into the pores you just opened and becomes a release layer. “Broom clean” is not clean enough. “Blown out with a leaf blower” is worse — you’ve just aerosolized concrete dust and rained it back down onto every surface.
Our sequence:
When we say “clean,” we mean clean enough that a piece of white paper laid on the slab and picked up comes back white. That’s the standard the primer needs.
The primer is what actually bonds to the concrete. The color coat and topcoat bond to the primer. Skipping the primer to save an hour and a coat is where the majority of 1-day installs quietly fail — the color coat is doing double duty as primer and finish, and it’s not formulated for the substrate.
For Florida slabs, we specify a moisture-tolerant primer. Our two workhorses:
The primer coat also lets us catch any remaining issues — bubbles, outgassing pinholes, off-color patches — before we commit to a full color layer. A pinhole in the primer is a repair. A pinhole in the color coat is a re-do.
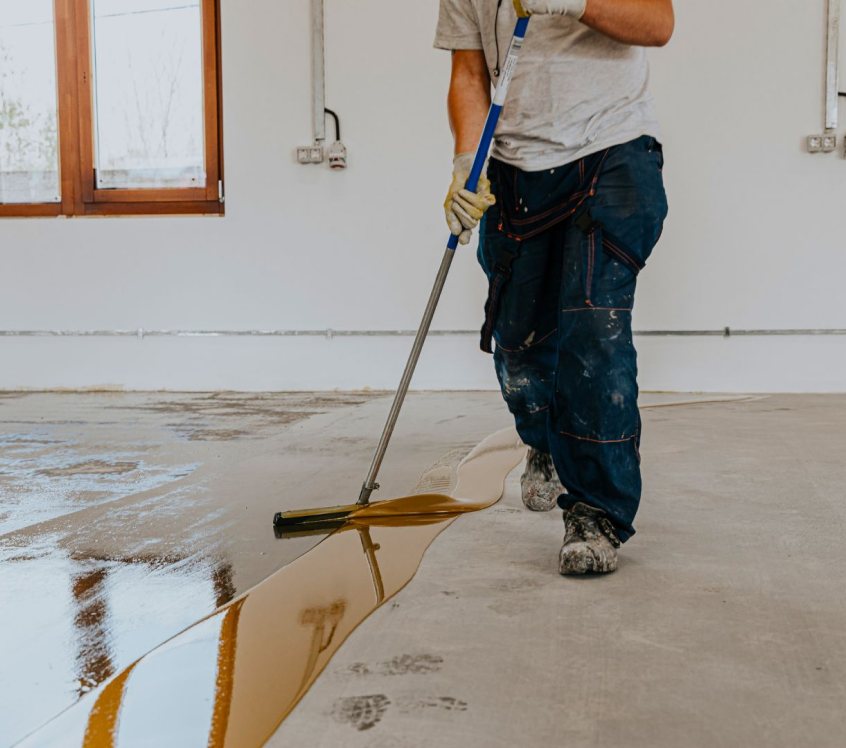
Epoxy is a two-part chemical reaction. The reaction rate — and the finished properties of the film — depend on temperature and humidity while it cures. Get either wrong and you get epoxy floor bubbling, amine blush (a greasy haze that ruins topcoat adhesion), soft spots, or a coating that never fully cures at all.
Our application window:
Practically, this means we schedule Florida coating days for early morning starts (slab is still cool, ambient RH hasn’t peaked), keep the garage door closed during application (a wide-open garage lets 92% RH air blow directly onto the wet resin), and run a portable dehumidifier if the day is marginal. In August in Jacksonville or Charleston we’ve walked away from a scheduled install day, rescheduled a week out, because the dew point was going to catch us at 10am. The homeowner didn’t love it. But we’ve never re-coated a floor for that reason either.
If you’re getting estimates from any epoxy installer — Apex or otherwise — here’s the shortlist of questions that separate a real prep spec from a 1-day-install pitch. If you can’t get straight answers to these, walk away.
Apex builds our estimates around exactly the 6-step prep sequence above. We show homeowners the moisture readings, we show them the CSP-3 texture after grinding, and we schedule the install around the weather instead of around a marketing calendar. It’s slower. It’s also the difference between a floor you walk on for 15 years and a floor you re-do in 18 months.
In Florida, the overwhelming cause is moisture vapor transmission — water wicking up through the concrete slab and building pressure between the epoxy and the concrete until the bond releases. Secondary causes are inadequate prep (acid etch instead of diamond grinding), no moisture-tolerant primer, unrepaired cracks, or the coating being applied outside the correct temperature and humidity window. The epoxy itself is almost never at fault. What’s happening is called delamination, and it means the bond between the film and the slab has failed, not the coating chemistry.
Small isolated peel spots — under a few square feet, with a clean edge — can sometimes be spot-repaired: cut back to a sound edge, feather-grind the exposed concrete, prime, and re-coat the patch. But if the underlying cause was moisture vapor transmission or a failed prep job, the peel will keep spreading regardless of the patch. In practice, once a garage floor is peeling in more than one location, the correct fix is a full removal, re-grind, and re-prep with a moisture-tolerant primer system. Trying to patch a systemic prep failure is throwing good money after bad.
A properly prepped, moisture-tested, correctly primed Florida garage floor with a 100%-solids epoxy or polyaspartic topcoat should last 15-20 years with no delamination and minimal cosmetic wear. Poorly prepped floors — the “one-day install” market — commonly fail within 12-24 months. The lifespan is almost entirely a function of prep, not the epoxy brand. In coastal environments (Jacksonville Beach, Charleston, Savannah), UV and salt air can dull the topcoat sheen after 8-10 years, but the bond stays intact and the floor is easily refreshed with a single re-topcoat.
Yes — and in Florida it’s the single biggest cause of failure. Concrete is porous, and in our climate the slab is constantly transmitting water vapor from the ground upward through the pores. When you seal that surface with an impermeable epoxy, the water vapor builds hydrostatic pressure between the concrete and the coating film. Eventually the pressure exceeds the bond strength and the coating lifts. This is why calcium chloride testing and in-slab RH testing are non-negotiable before quoting a Florida floor, and why any slab reading over 3 lbs/1000 sqft/24hr needs a moisture-mitigation primer like Ardex MC-Rapid before the color coat goes down.
Yes, significantly. Diamond grinding physically removes the top layer of the concrete, including the weak laitance layer, any old sealers or contaminants, and produces a CSP-3 (Concrete Surface Profile 3) texture that epoxy is engineered to bond to. Acid etching only opens the pores chemically and does nothing to remove old coatings, curing compounds, or contamination. Etching produces a CSP-1 profile at best, which most modern high-solids epoxies consider insufficient. Every professional-grade epoxy manufacturer — Sherwin-Williams, Sika, Rust-Oleum industrial line — specifies mechanical grinding in their published prep instructions. If an installer is quoting acid etch as the only surface prep, they’re outside the manufacturer’s specification and the warranty on the coating itself is likely void.
Polyurea garage floor coating offers a smart, long-term solution for homeowners looking to improve both the look and performance of their space. With its fast-curing application, it stands up to Florida’s climate and daily use without losing its appeal. For those seeking durability, safety, and a polished finish, polyurea flooring delivers both function and style that lasts.
Which garage floor cracks a coating fixes for good, which ones will show back through
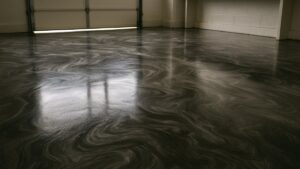
How a metallic epoxy floor gets its depth and movement, why no two floors ever
How a static-control floor is actually built: the embedded grounding grid, the conductive layers above

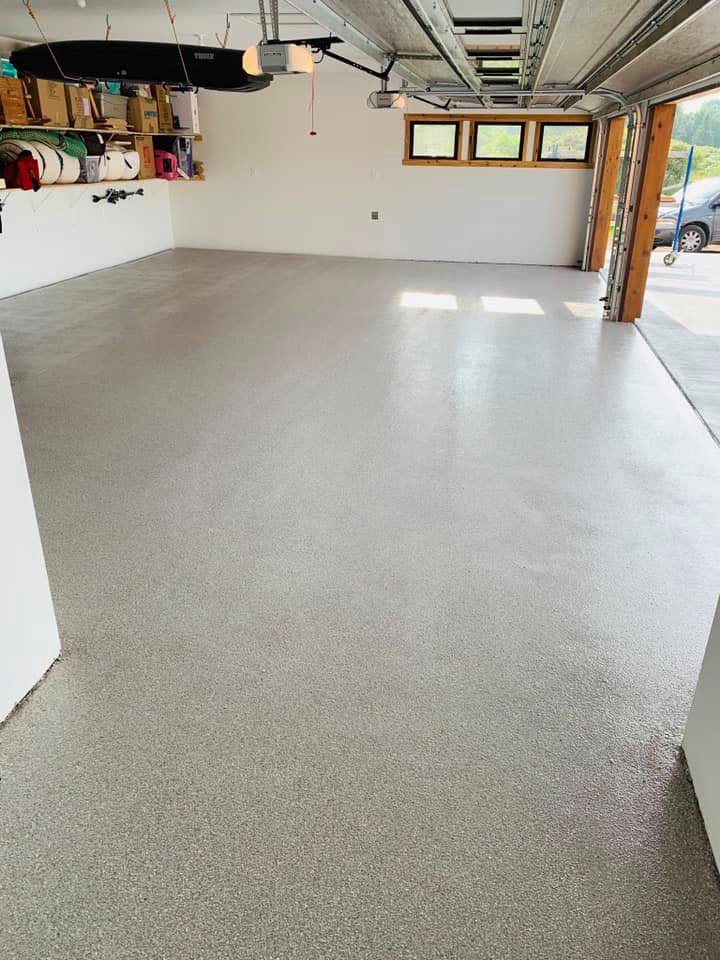
Garage Floor Special
One Flat Price for Your Garage Floor
Claim Your Price
Answer a few quick questions and we'll reach out to set up your free estimate.